How to present and manage applications in groups?
On the home page, you can display and manage applications in groups, meanwhile, you can search for target applications.
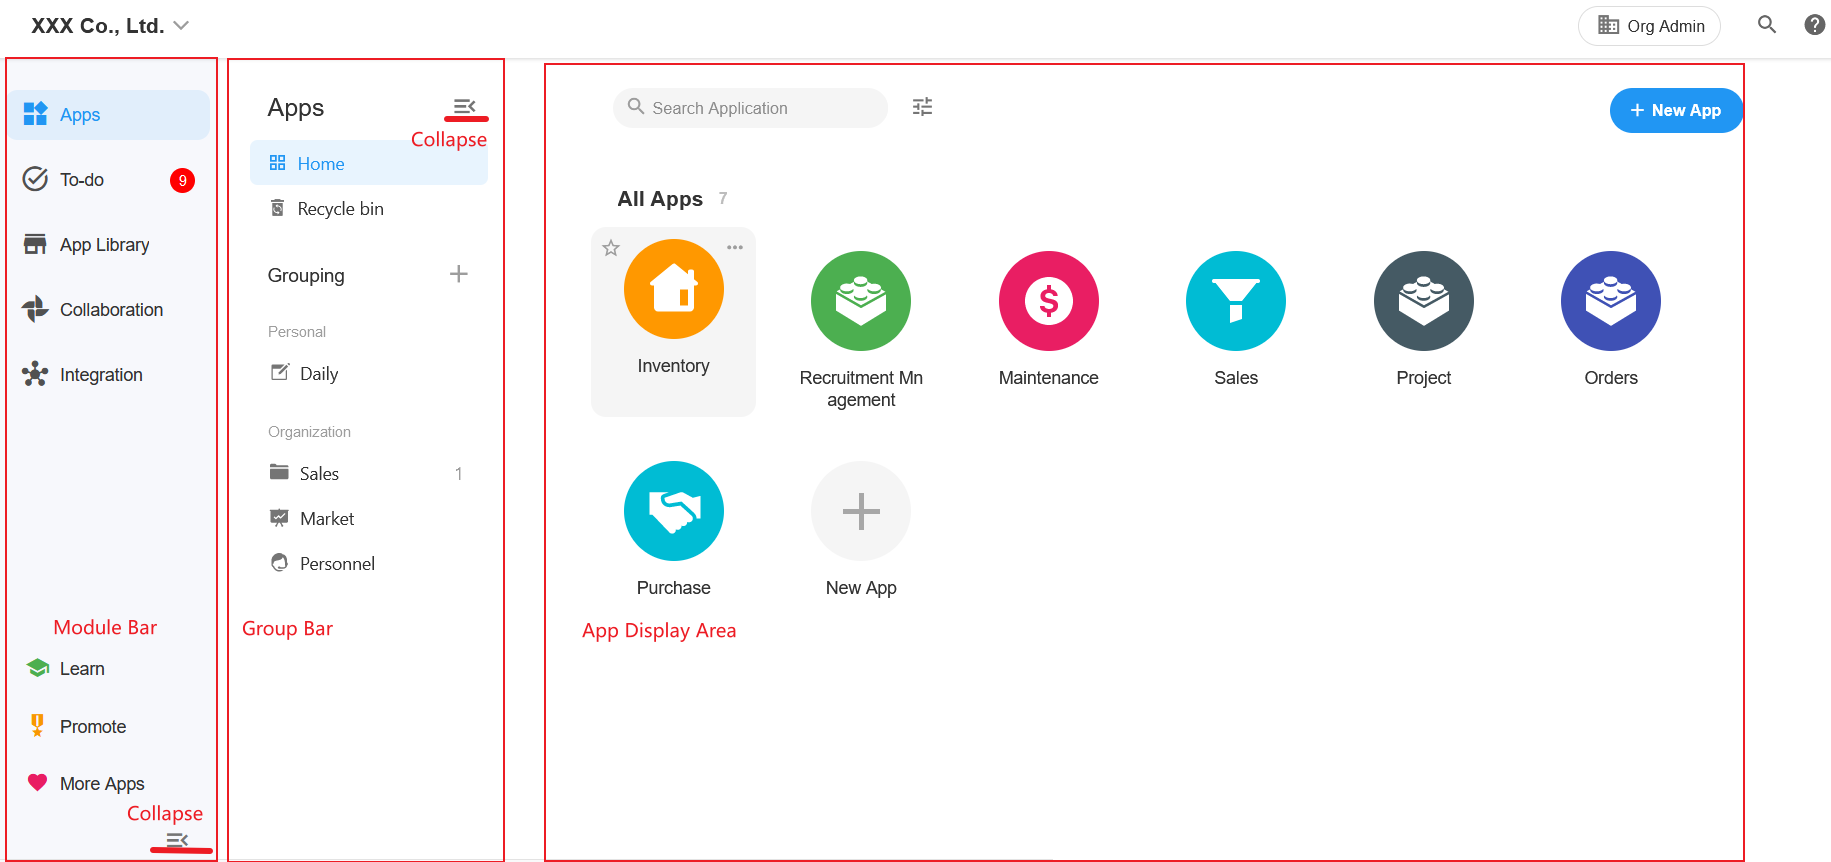
First, take a look at the functional areas of the home page. There are Module Bar, Group Bar, and App Display Area.
The following shows you how applications are presented in groups.
Ⅰ. Default Group
In App Display Area, there are Default Group and Custom Group.
Default Group includes 3 fixed groups, which are All Apps, Starred, and External Collaboration.
Custom Group includes 2 types, namely Personal and Organization, with unlimited numbers.
1. All Apps
The applications belong to the organization of the creator, and the applications you joined in the organization are displayed in a tiled list.
As you can see below, [ All Apps] shows all applications that you joined in XXX Co., Ltd.
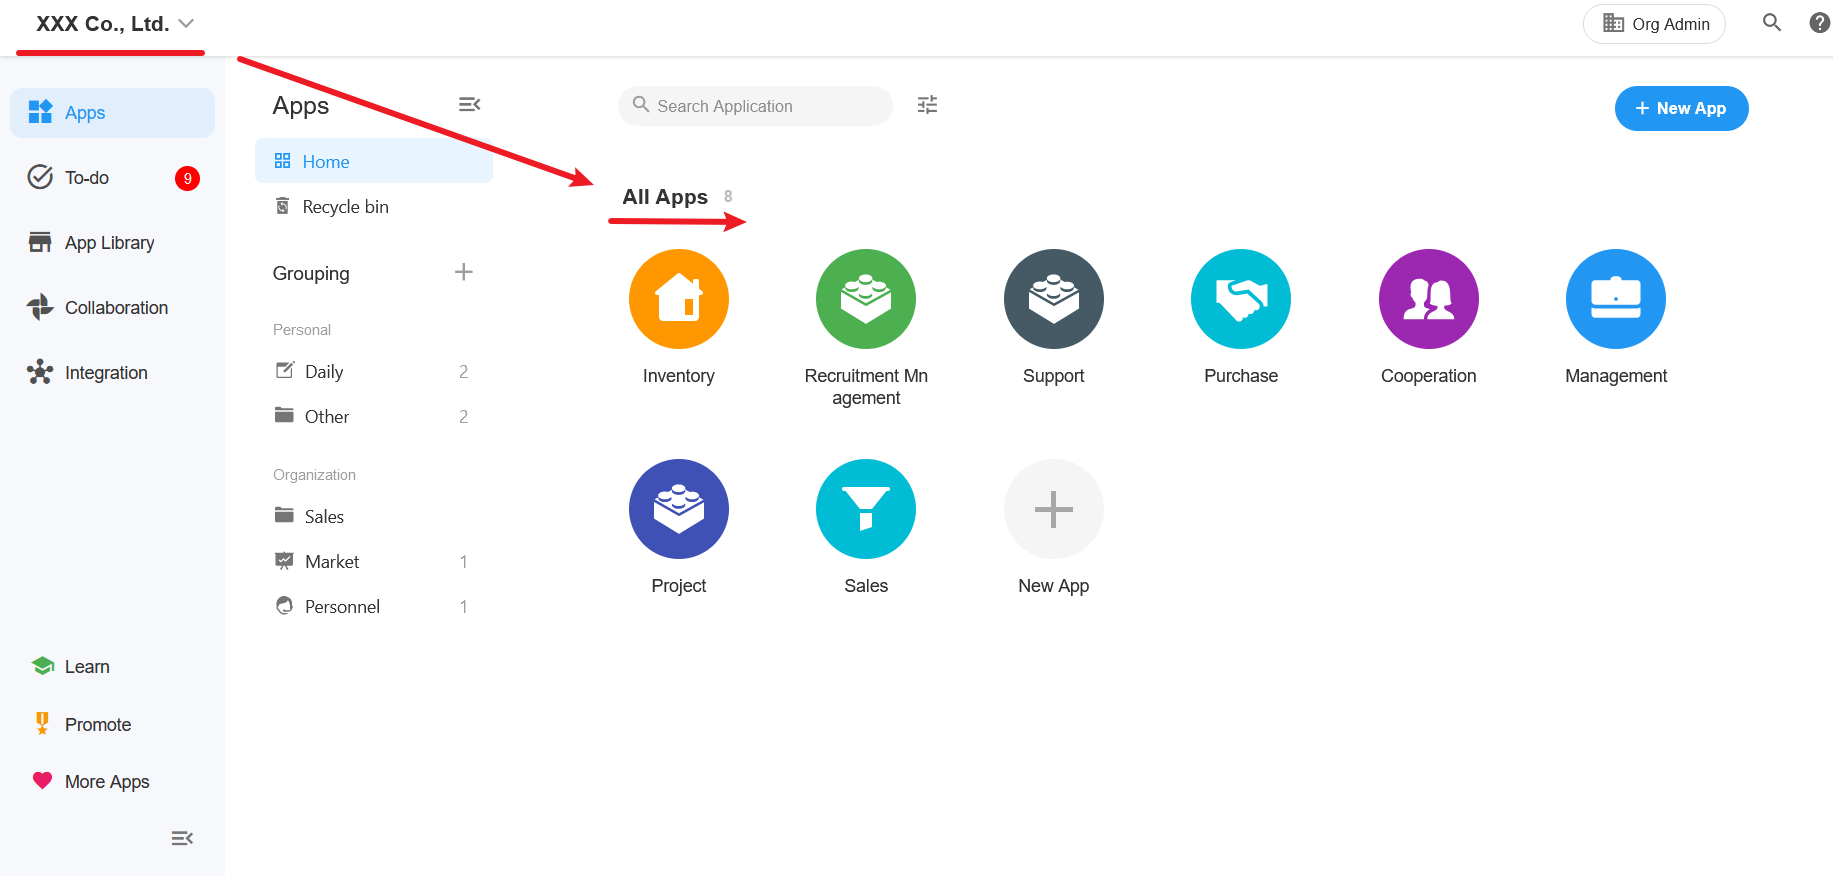
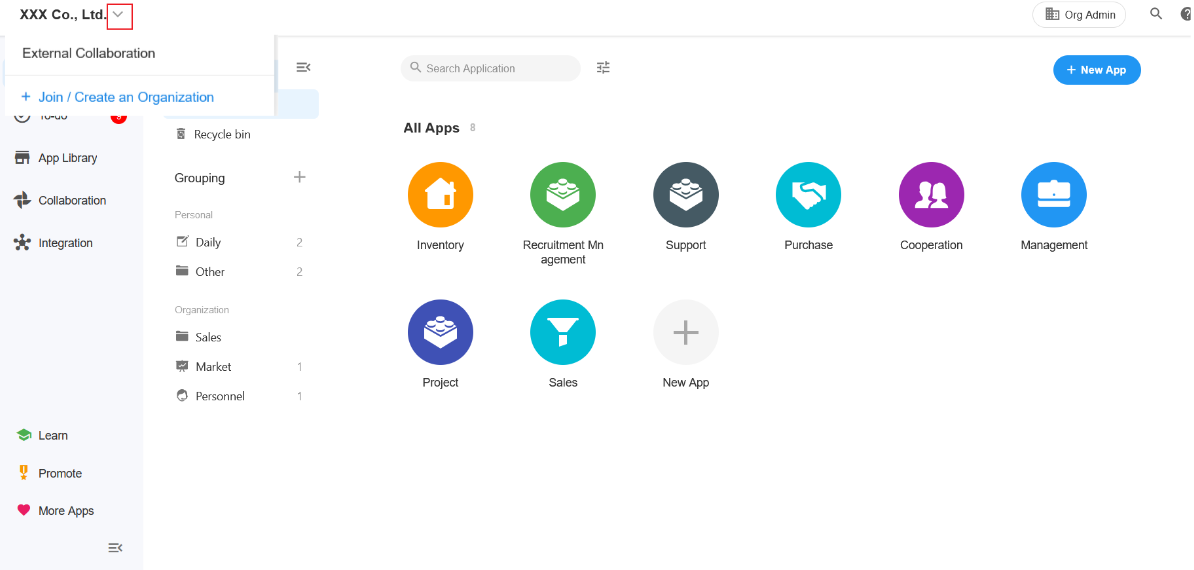
If you joined more than one organization, you can switch organizations to view the applications.
2. Starred
Starred applications can be regarded as the applications that are stuck to top. If you joined too many applications, you can star the frequently-visited application, and it will be shown at the top.

If no application is starred, the group [Starred] will be hidden.
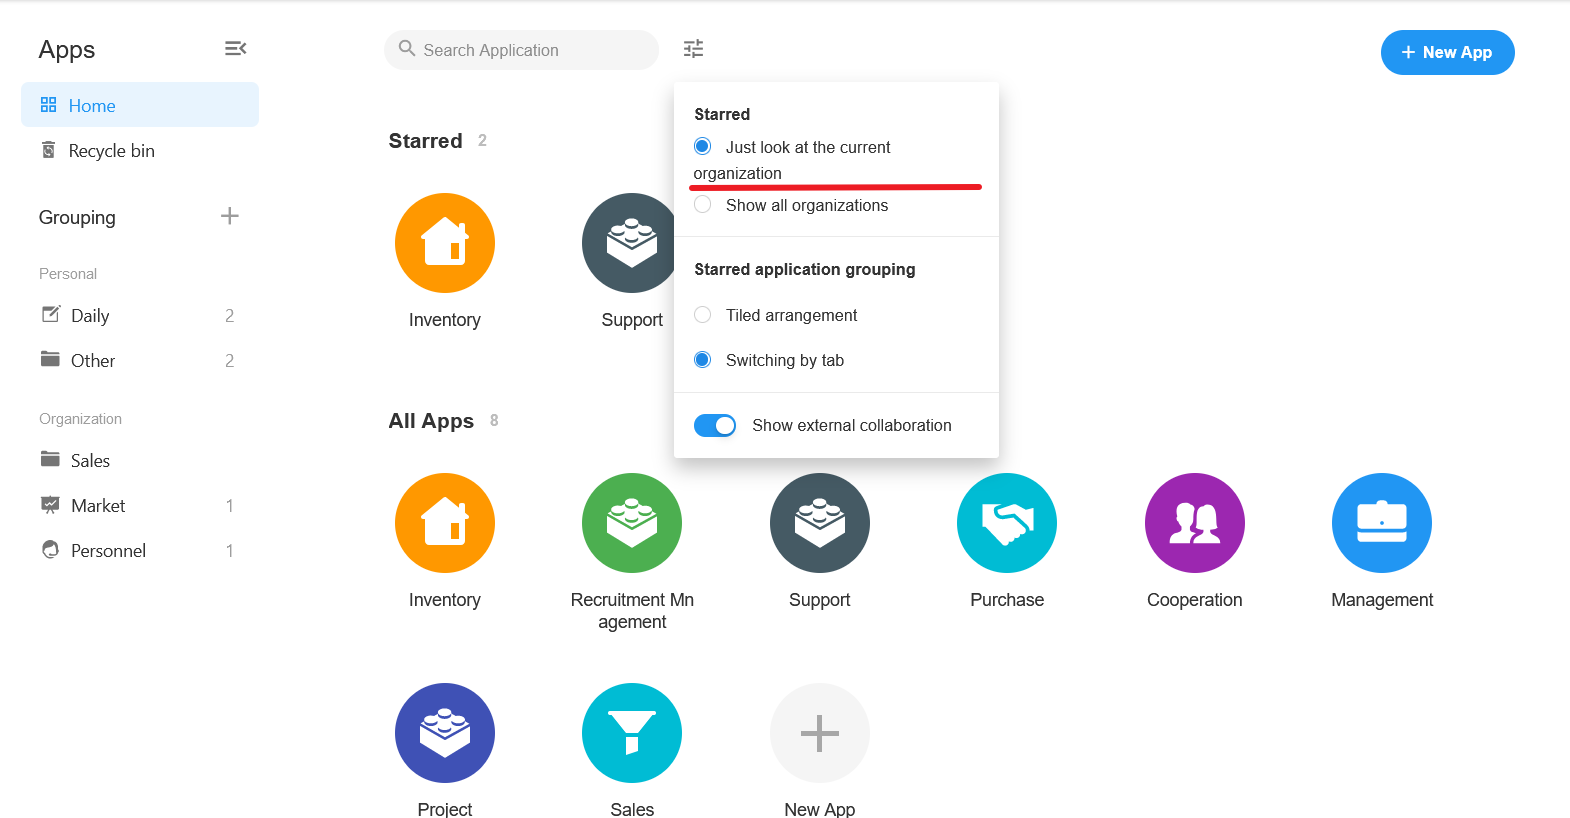
By default, the starred applications in all organizations you join are displayed in [Starred]. If you only need to display the starred application of the currently selected organization, you can set as follows:
3. External Collaboration
The applications in this group are created in other organizations. You are not a member of the organization, but a member of the application. Such applications will be displayed in [External Collaboration] at the bottom of the home page. If there is no this group on your home page, it means you have not joined applications of other organizations.
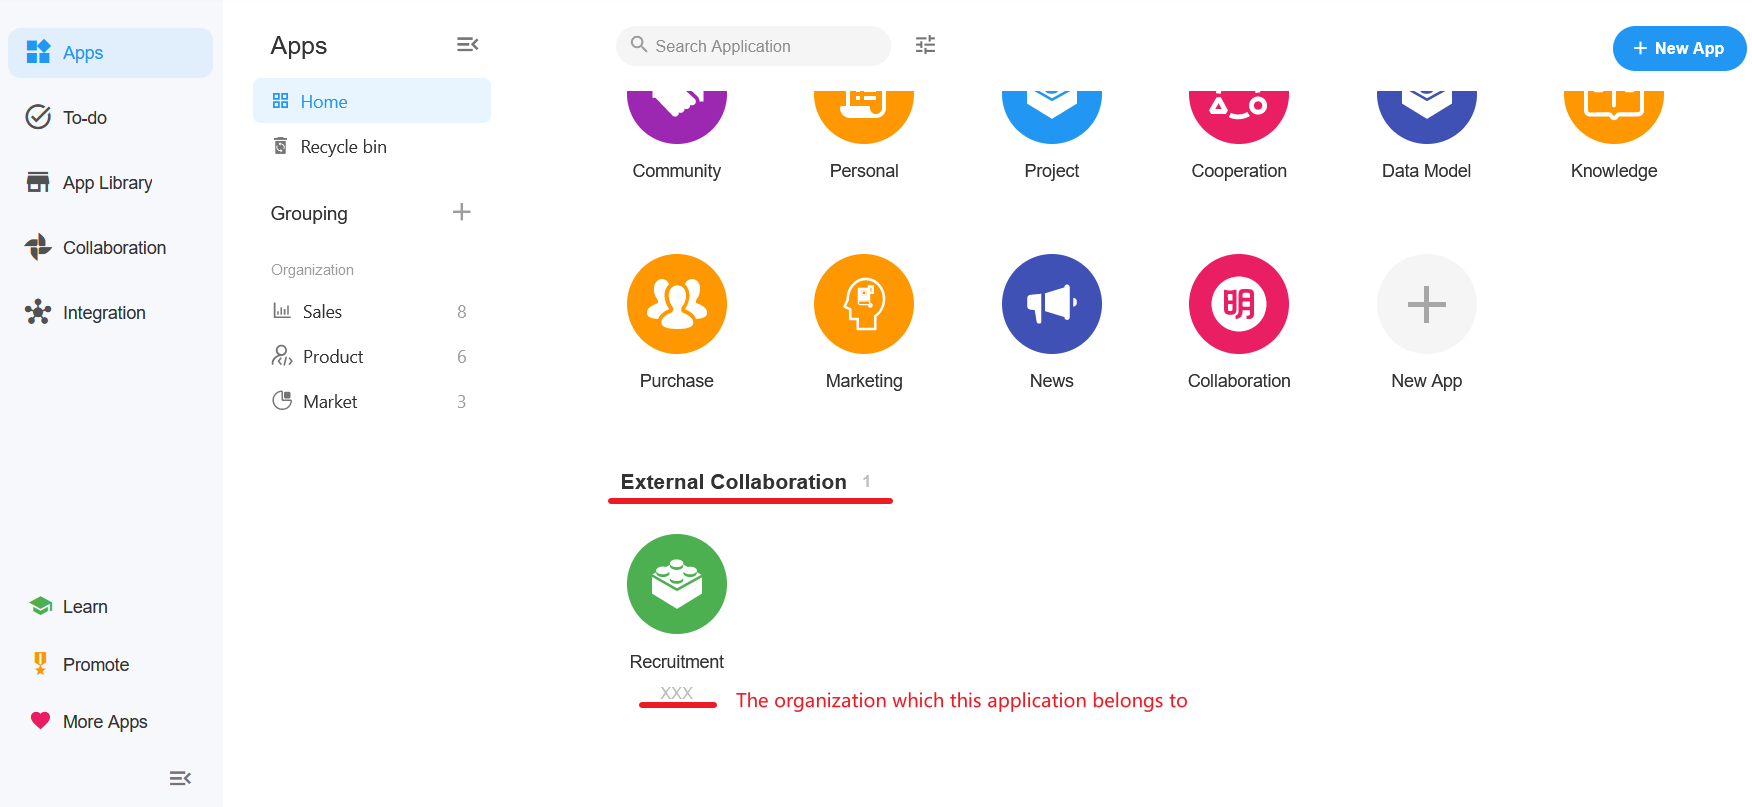
Applications in [External Collaboration] cannot be created and will not be displayed until you join them. The application you create belongs to the internal organization.
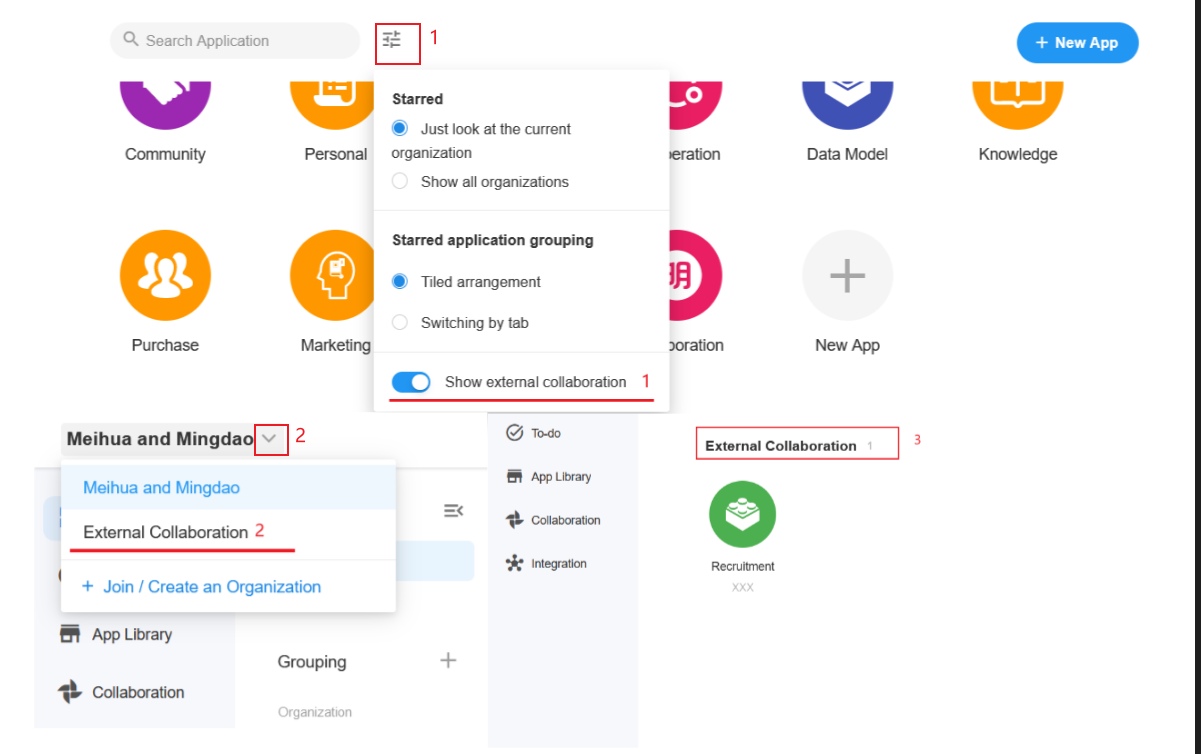
Applications in [External Collaboration] are displayed by default. If you want it to be displayed only when selected, you can set it as follows:
Ⅱ. Custom Group
If there are too many applications, you can create custom groups to manage them. For example, you can group applications by department, by project or by business type.
Custom groups are divided into [Personal] and [Organization].
1. Create Group

Personal: Each user can create a personal group and add applications to it. Personal groups are private, not visible to others.
Organization: Only Super Admin or App Admin in an organization can create organization groups. Organization groups are visible to everyone within the organization.
The App Admin moves an application to an organization group, and all members of the application can see it under the group.
As shown in the figure below, four groups are created:
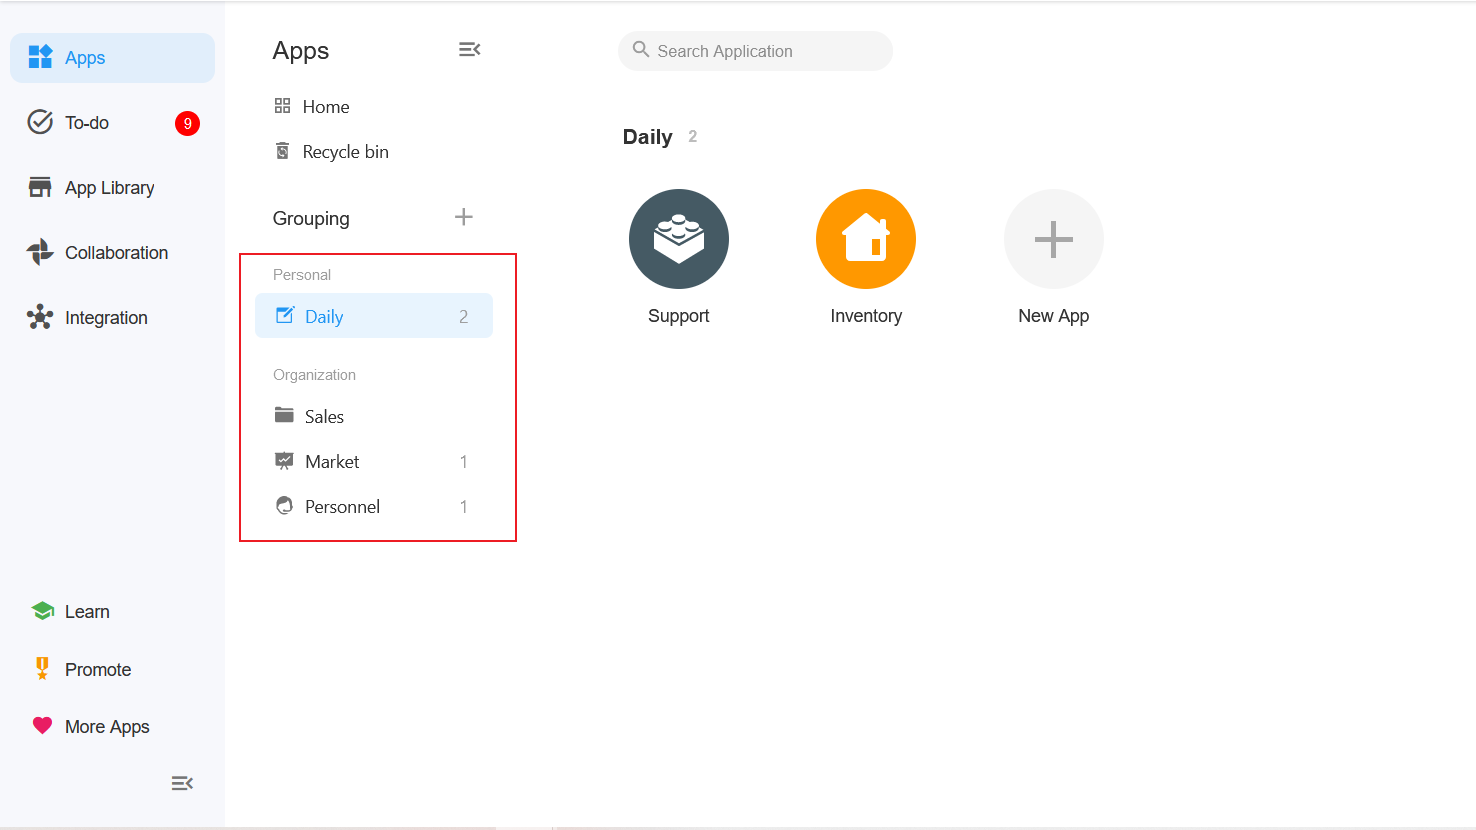
- Personal: Daily
- Organization: Sales, Market and Personnel (visible to all members in the organization) The created groups belong to the currently selected organization. If you switch to another organization, groups (both personal and organization) are changed as well.
2. Set Group for Application
As shown in the figure below, after the group is created, you can move applications to this group.

- An application can be moved to multiple groups
- If you move an application to a personal group, it only works on your page
- If an application is moved to an organization group, it is valid for all members of this application
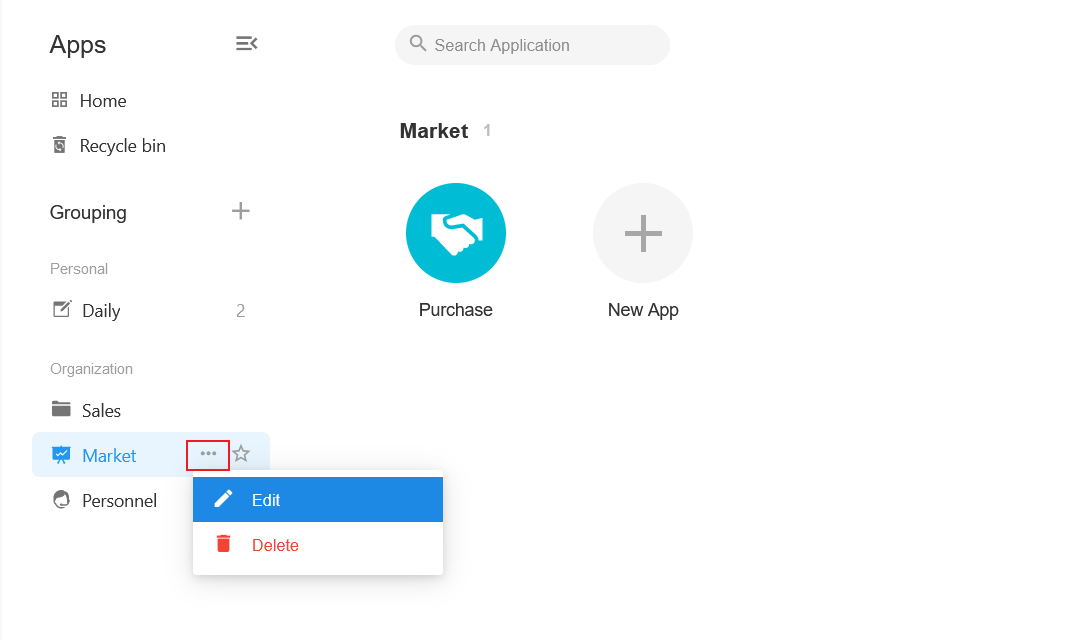
3. Modify or Delete Group
When editing a group, you can change it to a personal or organization group.
4. Star Group
The starred group will be stuck to top. If there are applications under a starred group, the group will also be displayed first in App Display Area. [Starred Group] will be displayed above [All Apps] and below [Starred].

If there is no application under a group, the group will not be displayed in App Display Area.
2 ways to display starred groups
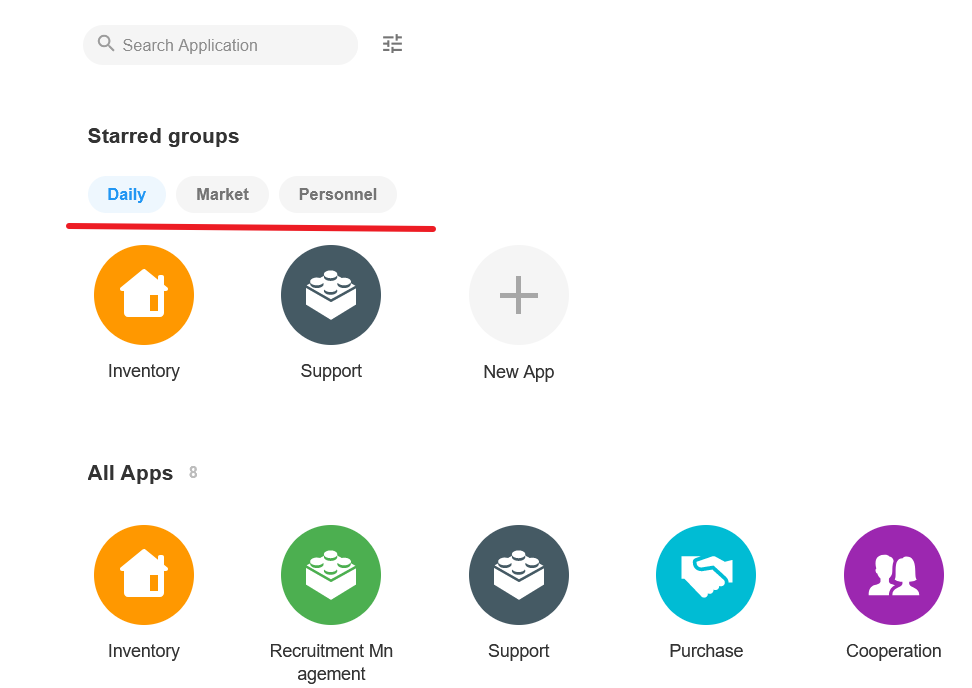
As the figure shows, there are two ways for you to display starred groups, that is tiled arrangement and switching by tab.
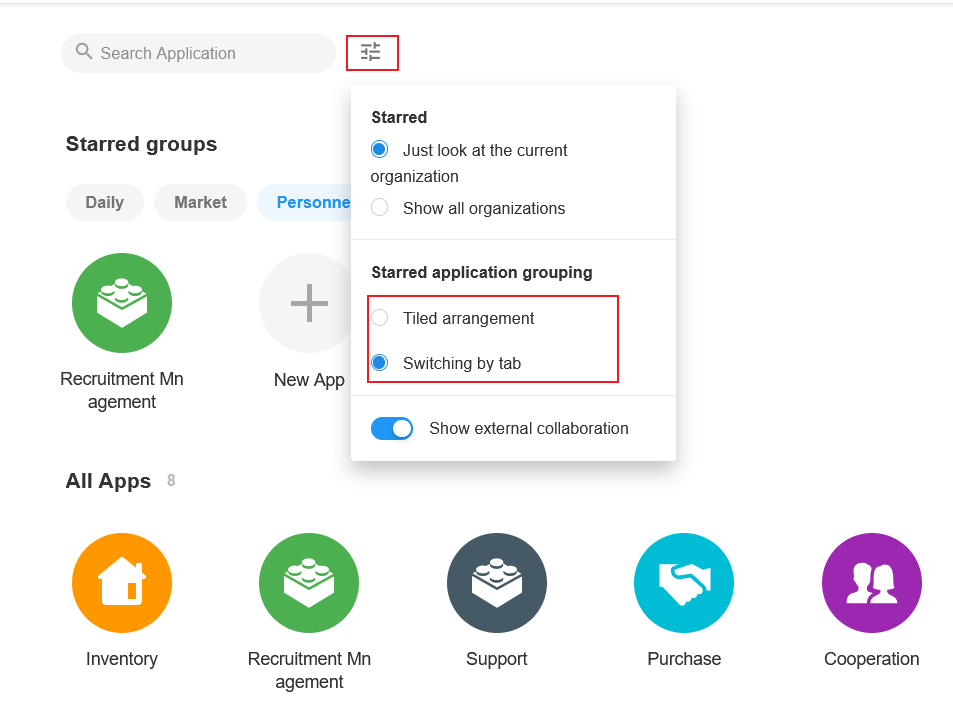
- Tiled Arrangement
- Switching by Tab
Ⅲ. Operations in Grouping
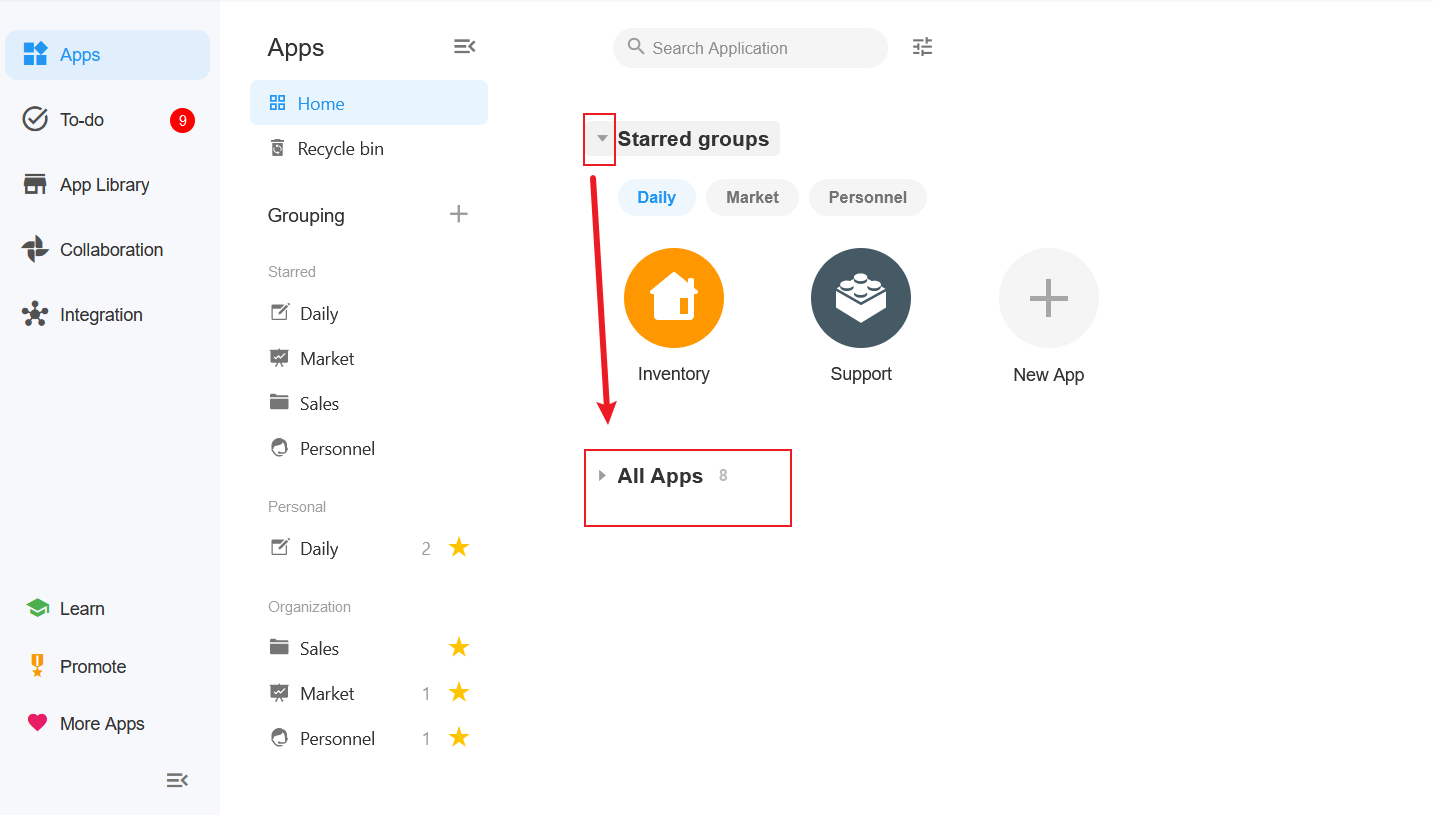
1. Expand and Collapse
Place your mouse over the group name and click to expand and collapse it.
2. Sort Groups in Group Bar
You can drag and drop up and down to adjust the grouping order.
Starred groups can also be reordered the same way, and the sorting of starred groups in App Display Area will be changed accordingly.
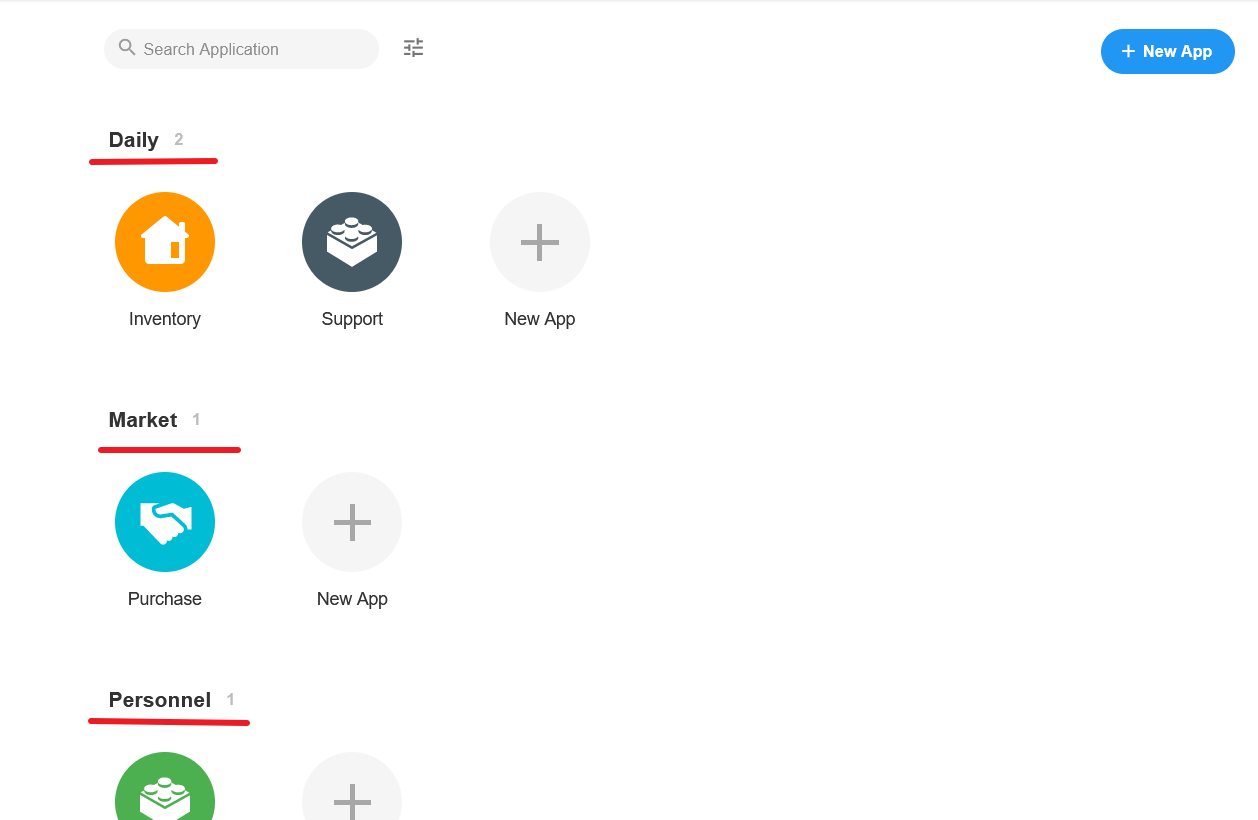
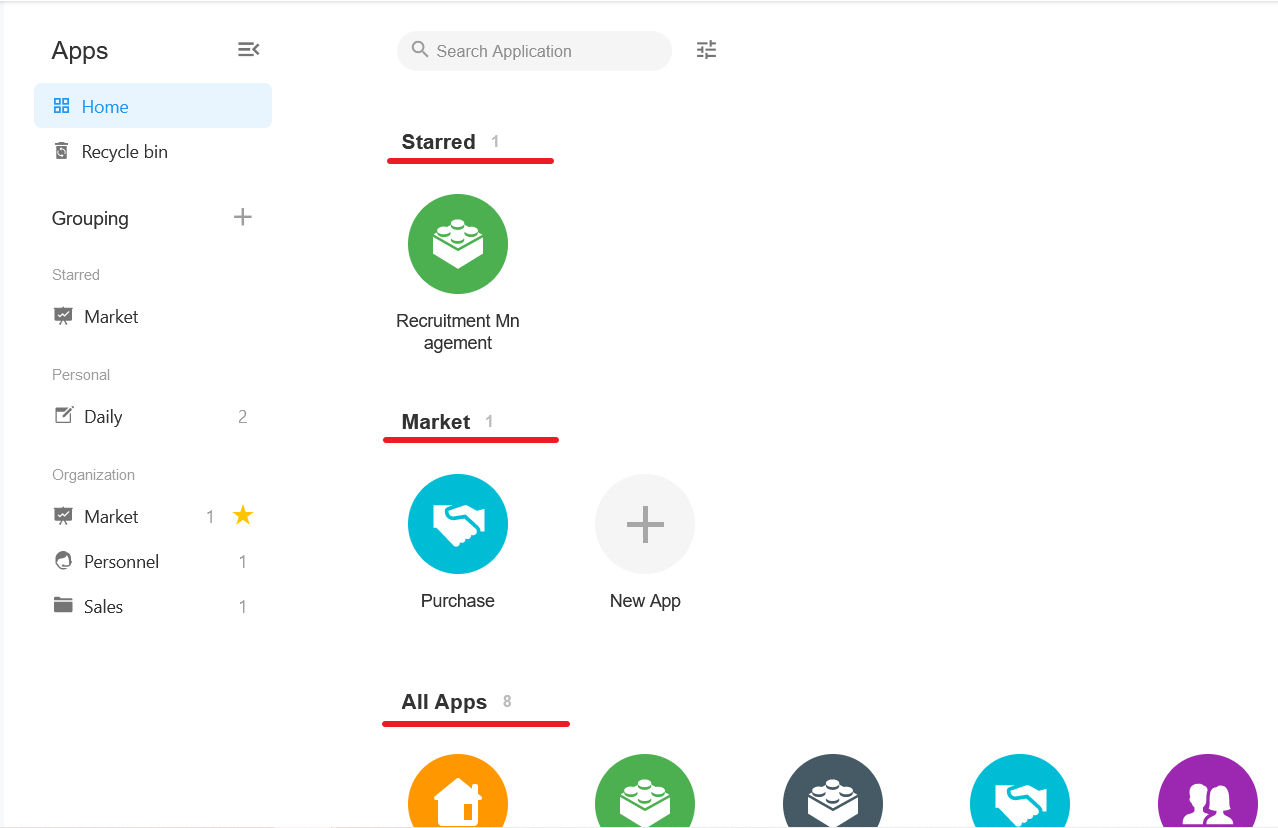
3. Sort Groups in App Display Area
In App Display Area, in order from top to bottom the groups are:
- Starred applications are always at the top
- Starred groups
- All applications of the organization
- External collaboration applications
Ⅳ. Sort and Search for Application
1. Sort Application
You can drag and drop the application to sort them under a group. The new order is only available for your page.
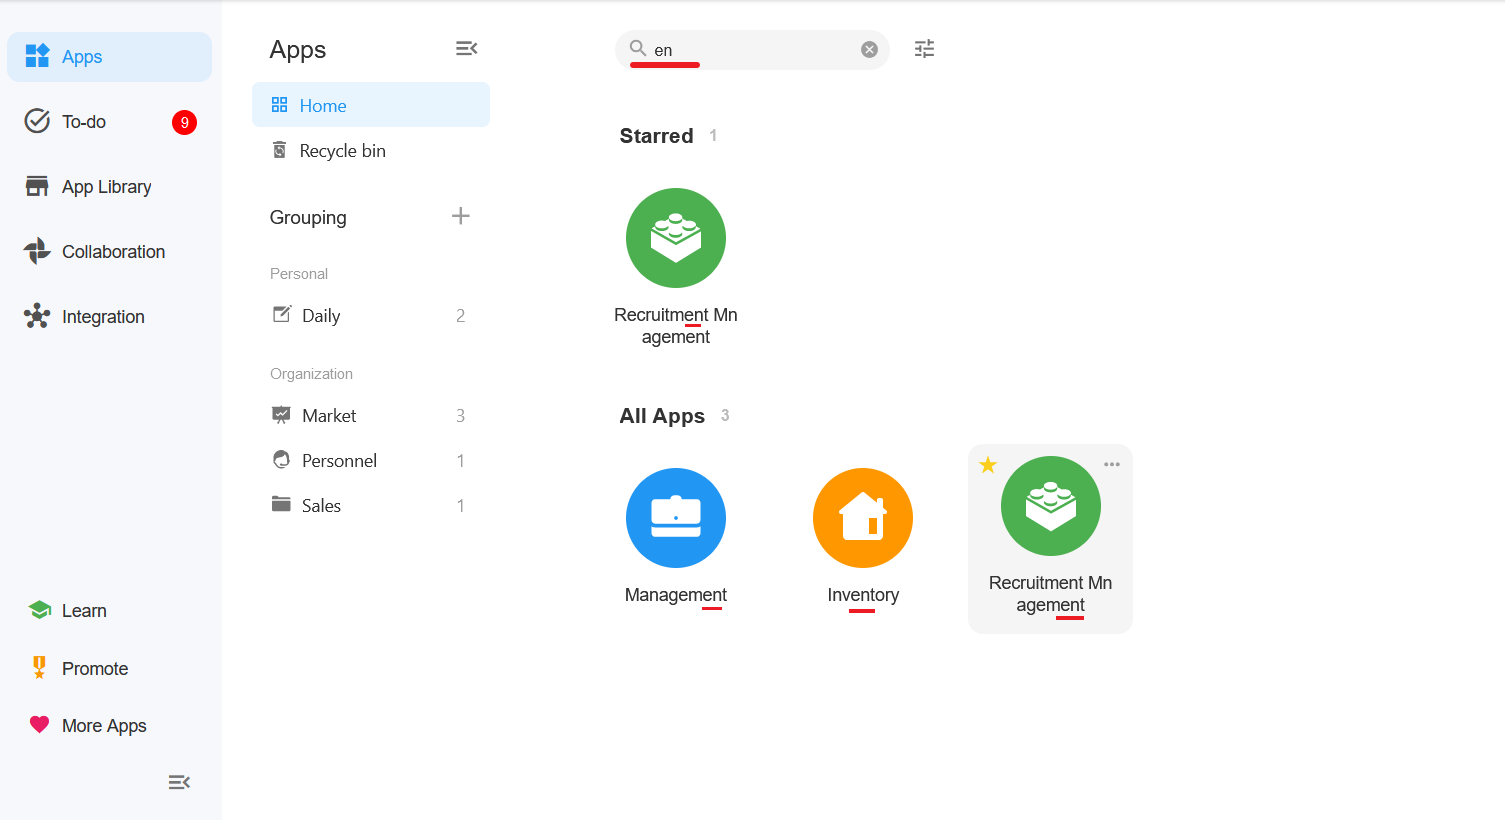
2. Search for Application
You can search for applications by Chinese initials, for example, enter [GL] to search for applications related to management, matching the application name. (Management in Chinese is Guan Li)
Have questions about this article? Send us feedback