Operations for Single Record
The data in the worksheet exists in each row of records. Users can add, modify, delete, share, and print records, as well as discuss on the details page of a record, etc.
If the above features are not available when you are operating, you can contact APP Admin to enable or configure more permissions for you.
1. Add Record
1.1 Add a record in the application
Click [+Record] in the upper right corner to add.
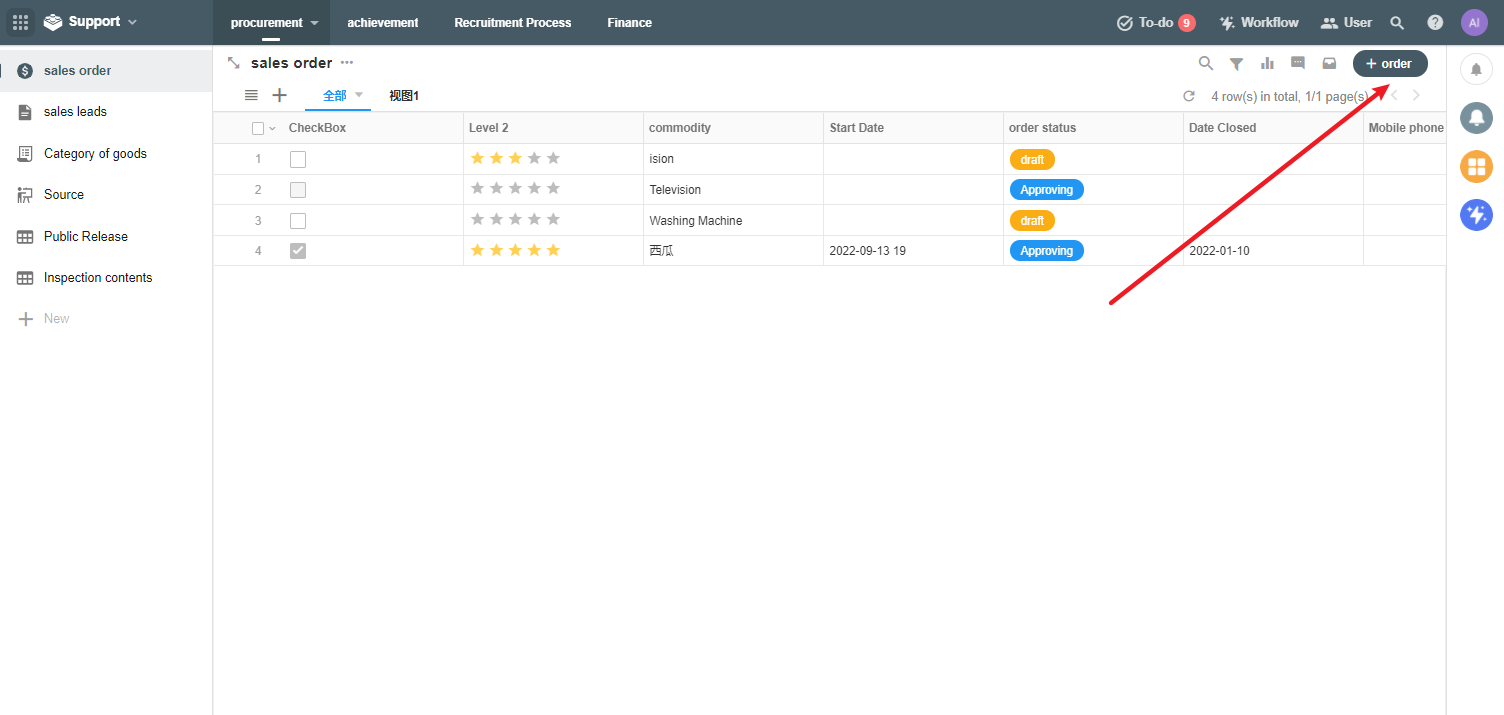
If there is no button on your page, it means you do not have permission to add new records, so if you need to, please contact APP Admin.
1.2 Add a record via QR code or link
For members:
Only members in the application can scan the code to add a record. Scan the code to go directly to the page of adding records. If you add records through the link, you need to login first, and then you can add records.
For external users:
After clicking the link or scanning the QR code, external users can add records directly without logging in.
More details about public form
2. Modify Record
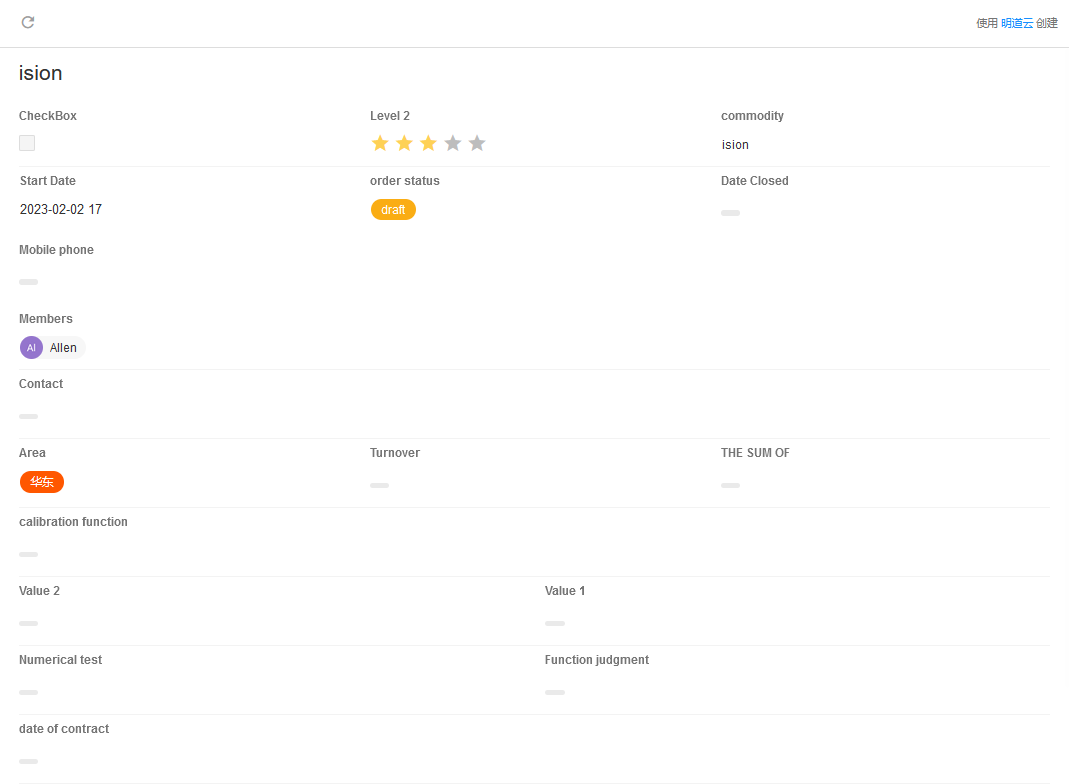
Open the record details page, modify the fields, and save.

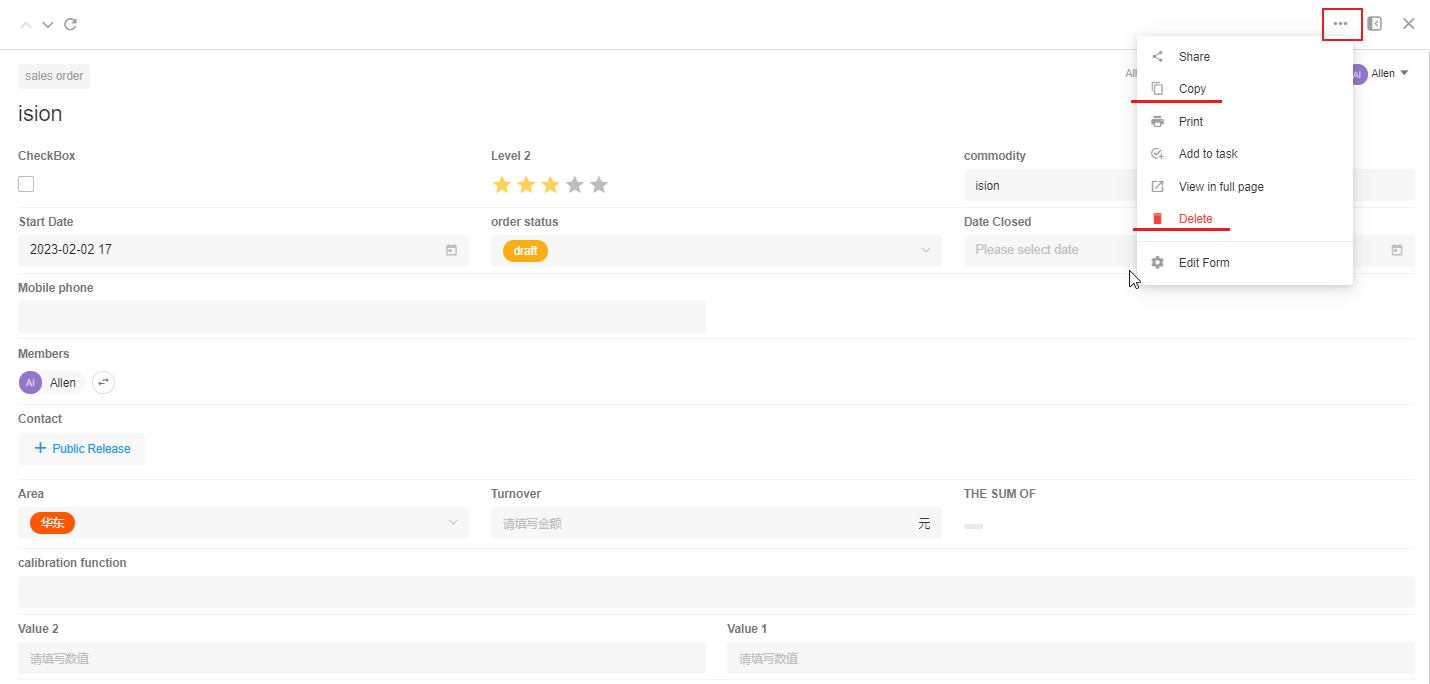
3. Copy/Delete Record
On the details page, click the [...] button and select to copy or delete the record.
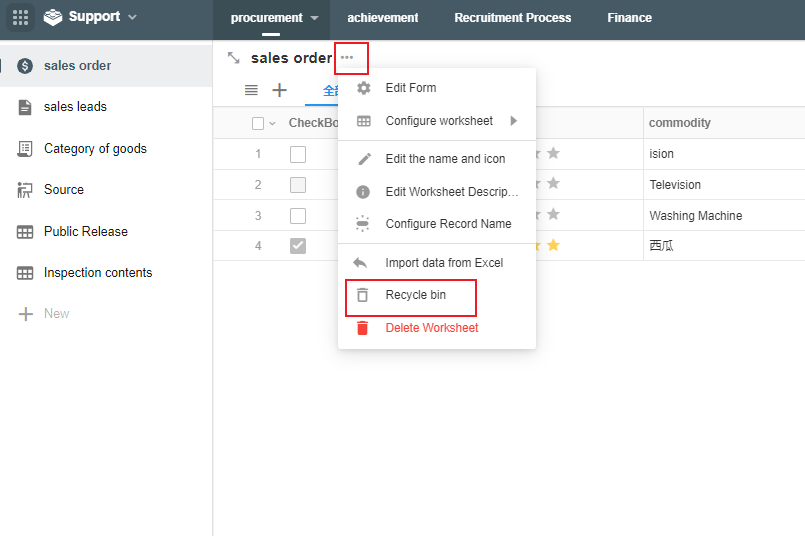
3.1 Restore the deleted records
You can restore the deleted records in Recycle Bin of the worksheet.
If you want to delete the record permanently, you can click [Completely delete] in Recycle Bin. After this, it cannot be restored.
- Members can restore records that have been deleted by themselves.
- Only Admins can delete records completely.
4. Print Record
If no printing template in Word is configured, there only displays [Print].
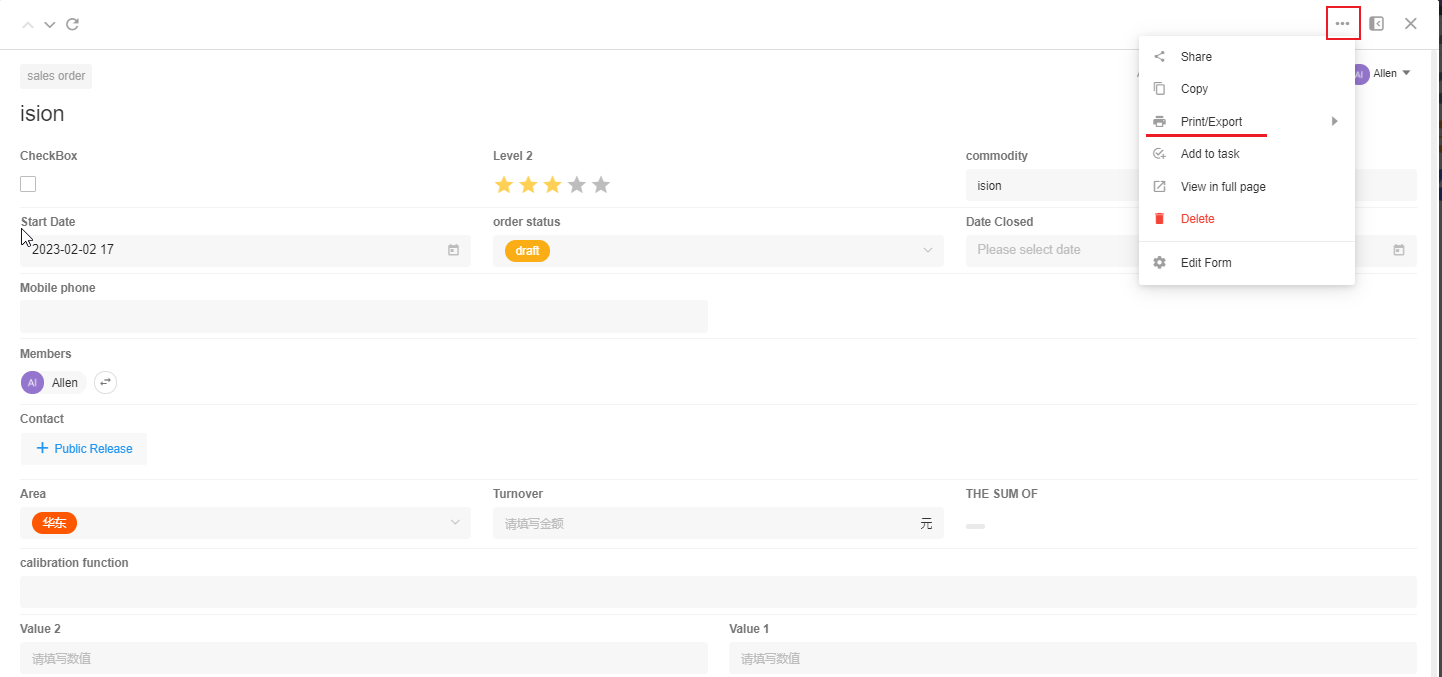
5. Share Record
On the details page, click [...] > [Share], enable [Public Share], then you can share the link or QR code.
You can set an expiration date or password for the link or QR code.

View the shared record
When viewing the shared record, users cannot edit it.
6. Expand/Collapse Comment
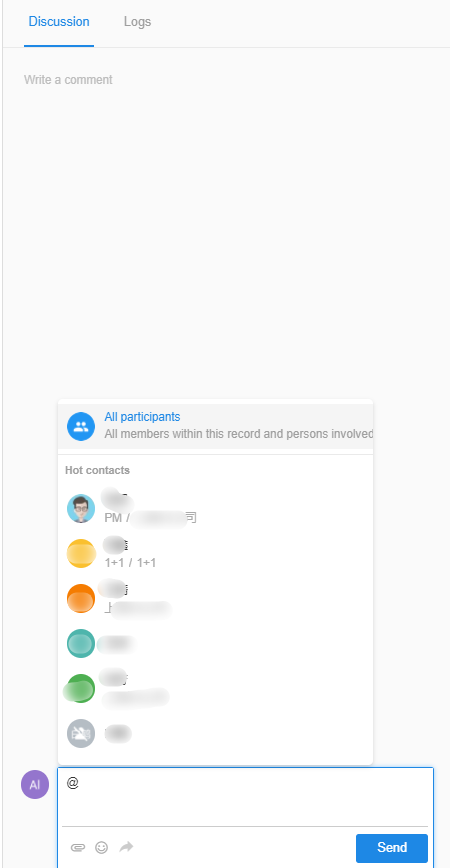
7. Discussion
Members can discuss in the details page of a record. You can mention a member or all members in the comment, and they will receive the message notification. If you reply to another member, he/she will also receive a message notification.
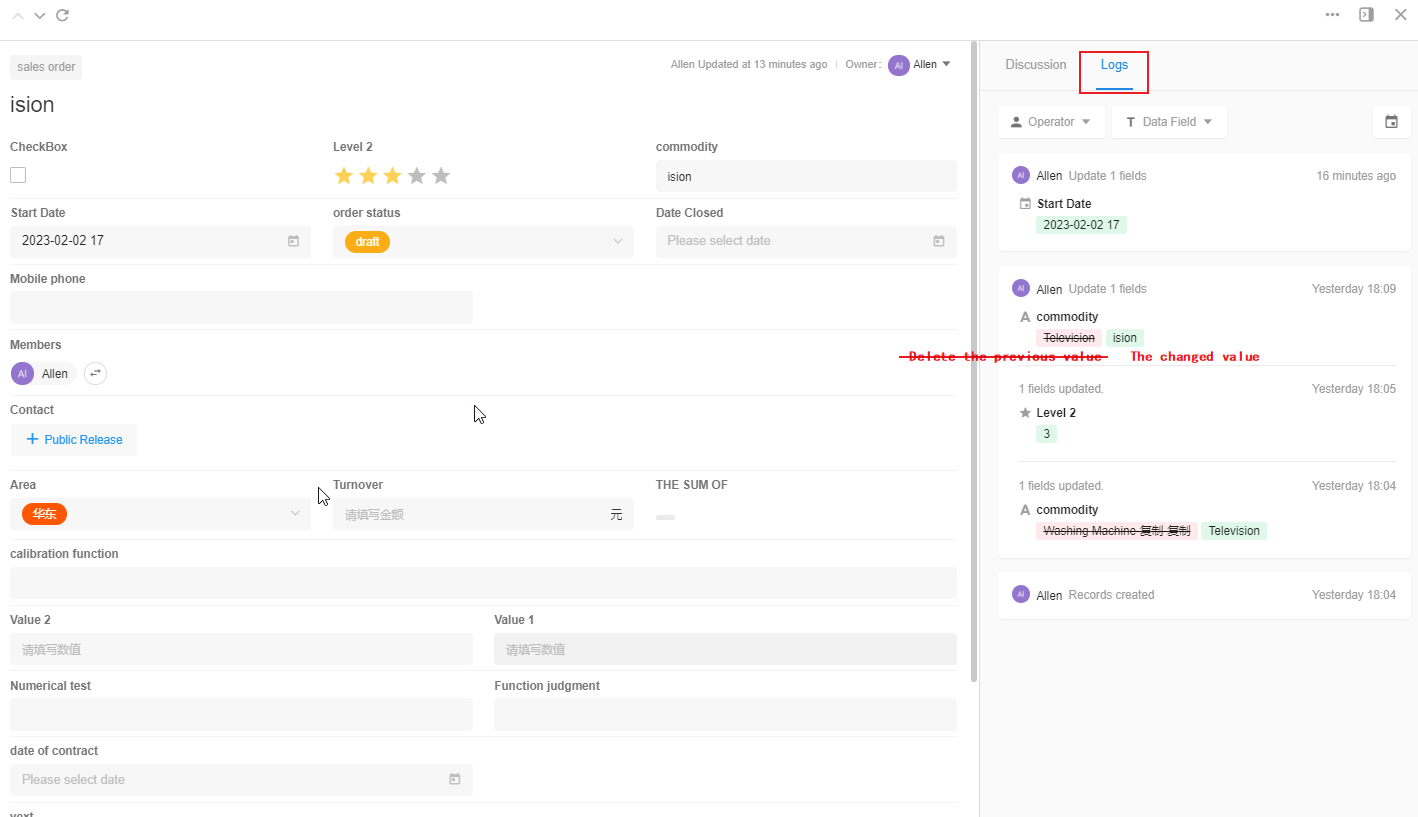
8. Logs
The editing history of each record is recorded in the logs.
You can filter and view logs by field or operator.
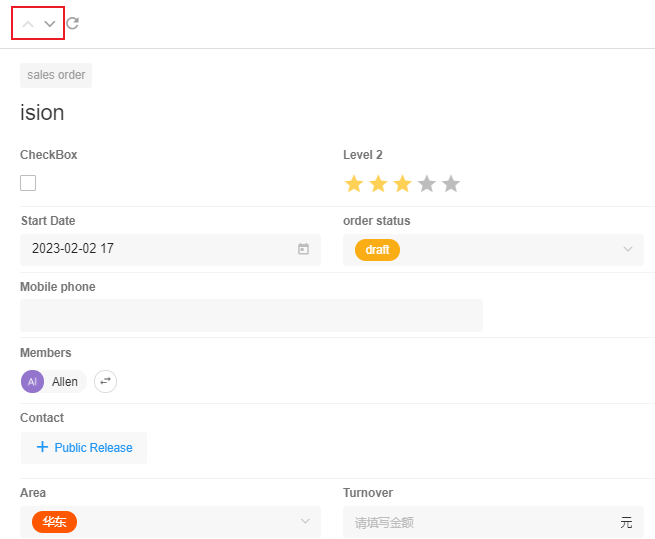
9. Previous and Next Record
As shown below, on the record details page, you can click the button to quickly view the previous and next record.
10. Open Record in New Tab
Each record has a corresponding URL through which you can open the record.
More details

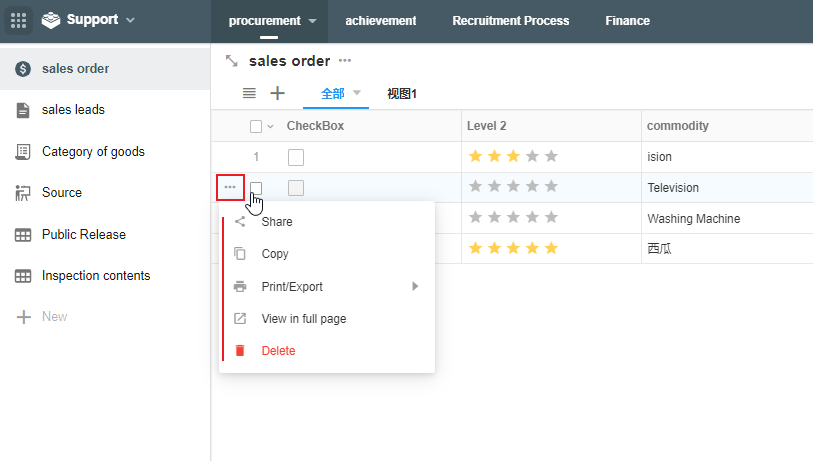
11. Quick Operation
In the grid view, you can also copy, delete, print, and share records.
Have questions about this article? Send us feedback