Workflow Configuration
In the configuration page, it includes the basic configuration of workflow, the configuration of manual nodes and the configuration of workflow parameters.

I. Basic Configuration
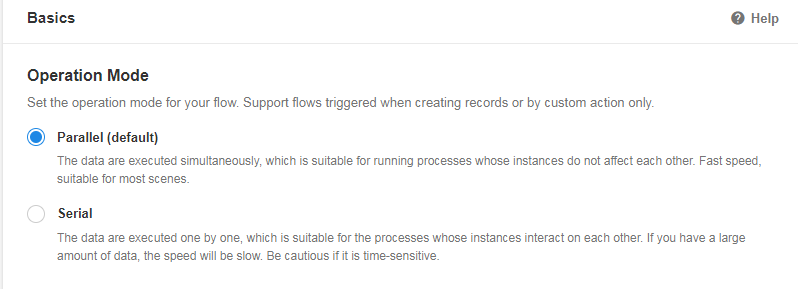
1. Operation Mode
For a workflow, it may be triggered by multiple records at the same time. For example, there is a workflow (triggered only when new records are added), and when 100 new pieces of data are added by importing an Excel file, the workflow will be triggered 100 times instantly. At this time, you can set the operation mode, parallel or serial.
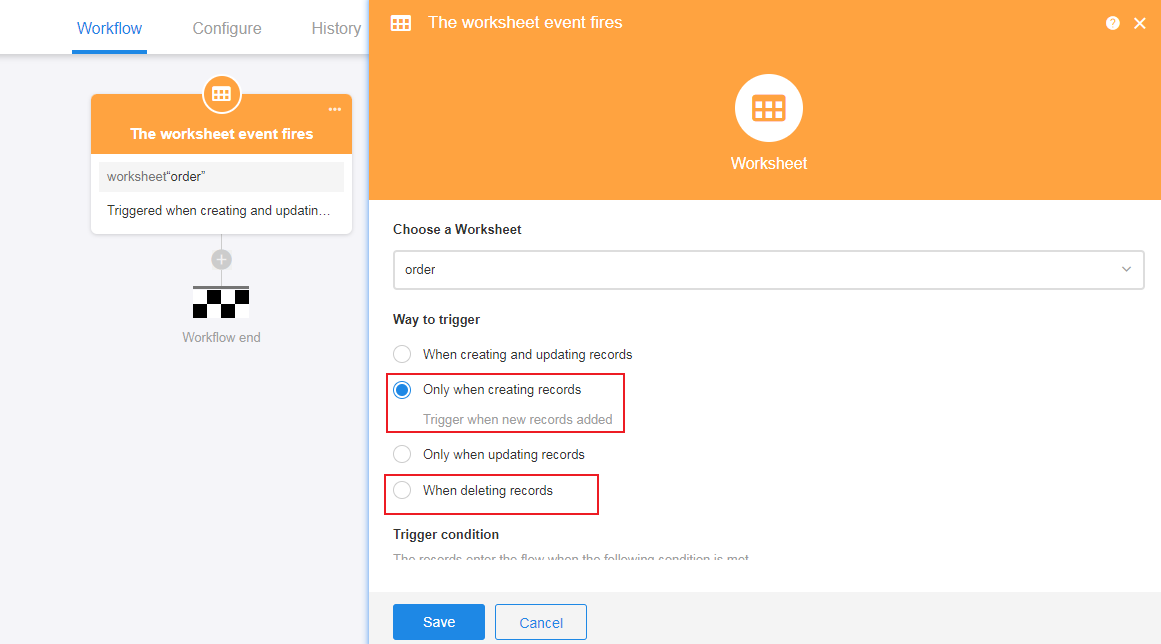
Note: You can only set the operation mode for workflows that are triggered when adding records, triggered when deleting records, and triggered by custom buttons. For other workflows, the operation mode is parallel by default and cannot be changed.
For workflows that are triggered when adding records
When you add data by importing an Excel file, the workflow is instantly triggered N times.
For workflows that are triggered by custom button
If you check multiple records and click the button, the workflow is triggered N times.

1) Parallel
Workflows in this mode run fast. This mode is suitable for workflows where the running instances do not affect each other.
For example, in the Bug Management application, there are 19 bugs that have been fixed and the creators of the bugs need to be notified for validation. You can check 19 bugs in bulk and click the “Validate” button to trigger the workflow to notify the creators. These 19 records or workflows are not sequential. They do not affect each other and can be executed simultaneously. In this case, you can choose the [Parallel] mode.
In parallel mode: the records or workflows are not executed in order.

2) Serial
Workflows in this mode run slowly. This mode is suitable for workflows where the running instances affect each other and the workflows need to be executed sequentially.
For example, in the Apply For Items worksheet, after a new request is added, the workflow needs to check the free equipment from the inventory. If multiple members request to use the same item at the same time, it is necessary to consider the inventory. For example, there are 10 notebooks in stock, and 3 members request 5 copies each. If they submit the application at the same time, the inventory they get is 10, obviously there is a problem. These three application records cannot be executed at the same time. In this case you need to select the serial mode, to execute the workflows in order.
In serial mode:
If you check records one by one and click the button to trigger the workflow in bulk, the workflow is executed in the order of the checkboxes.
If you check all the records and click the button to trigger the workflow in bulk, the workflow is executed in the order of the record pages from top to bottom.
If the workflow is triggered by new records, it is executed in the order in which the new records are created.
When to start executing the next workflow
After the execution of the previous workflow is completed, the next workflow is started.
When the previous workflow stops abnormally, the next workflow is started.
When the previous workflow enters the delay node, the next workflow is started.
When the previous workflow enters the approval or fill in node, the next workflow is started. Since the approval or fill in node may take time, the next workflow is started directly when the previous workflow reaches such a node.
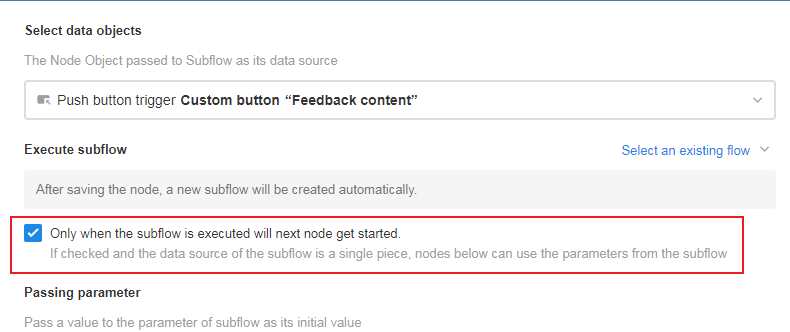
When the previous workflow enters a sub-flow or a packaged business process, the time required for the entire workflow is uncertain. You can choose from the following two ways:
If [Only when the subflow is executed will next node get started.] is checked, the batch workflows queued for execution will not wait for the subflow of a workflow to finish processing, and the next workflow will start directly once it enters the subflow node.
If it is not checked, it will execute the subsequent node directly. After the current workflow is executed normally, the next workflow is started.
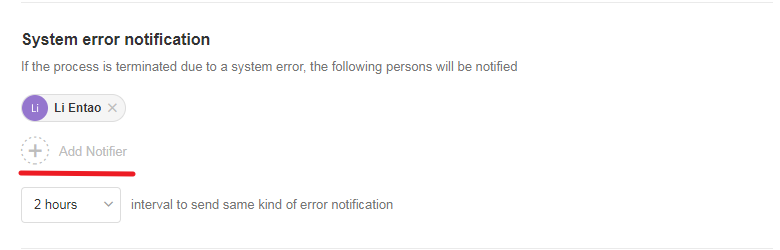
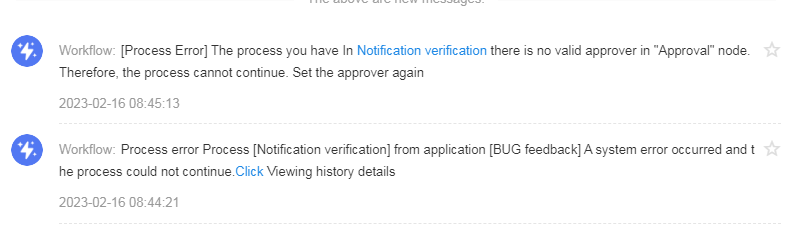
2. System error notification
You can add a member here. Notify the added member when an error occurs in the workflow. The notified member defaults to be the creator of the workflow.
If the member does not need to be notified for the same error message for a period of time, you can set not to receive the same error message for XX hours.
System errors include:
- A node failed to execute.
- There are no accounts or numbers for SMS or email.
Notification:
3. Initiator View
If the initiator of the workflow does not want the workflow to be displayed in [My Initiated] on the to-do page, he/she can disable [Initiator View] here.

If disabled, the initiator of this workflow will be displayed as “Workflow”.
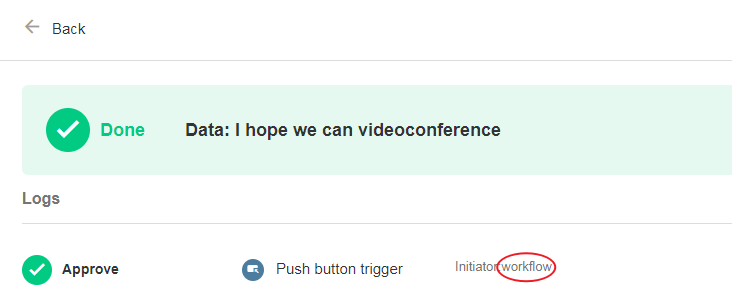
When the initiator views the workflow on the to-do page, the workflow does not appear in [My Initiated].

4. Trigger other workflows
If there are [Update records] node, [Add new records] node, [Delete record] nodes, etc. in the current workflow, the execution of these nodes may trigger other workflows.
Example: In workflow A, a new record is added to worksheet 1 through the [Add new records] node. The trigger of workflow B is to trigger the workflow when there is a new record in worksheet 1. If a record is added to worksheet 1 through workflow A, which meets the trigger conditions of workflow B, in such case, you can decide whether to trigger workflow B through configuration.
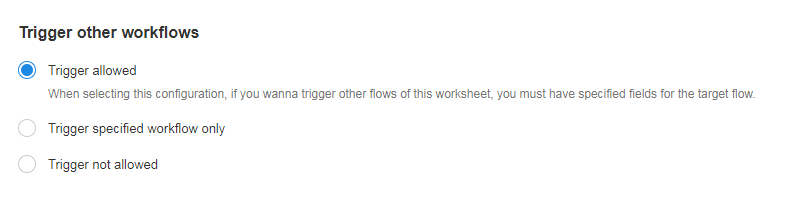
Trigger allowed
It is allowed to trigger other workflows, however, if the current workflow and other workflows select the same worksheet in the trigger, the trigger field must be specified in the trigger of other workflows for the workflow to be triggered.
As shown in the figure below, you need to specify the trigger field for the triggered workflow. In the above example, workflow B must be triggered by the specified field.
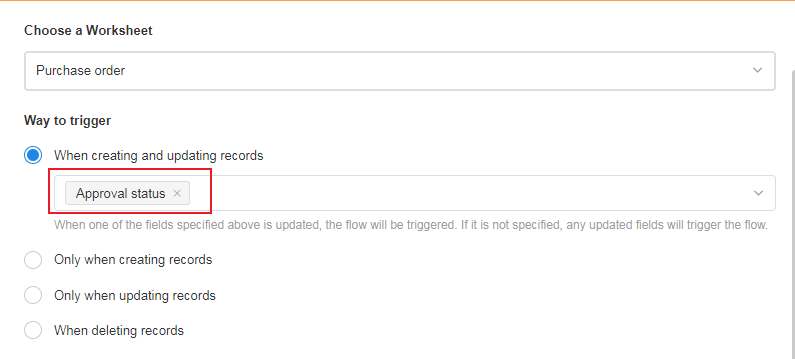
If workflow A is button-triggered, you do not need to set the specified fields for workflow B. Only if workflow A is automatically triggered, workflow B is the only one that needs the specified fields.
Trigger specified workflow only
In the current workflow, if you modify a record in another worksheet, it will trigger X workflows related to it. Among these X workflows, you can choose to trigger a few of them in particular.
These workflows do not have to be in this application, but can also be in other applications.
Trigger not allowed
Any data processed automatically by this workflow does not trigger other workflows, even if changes to the data meet the trigger conditions of other workflows.
Ⅱ. Set manual nodes
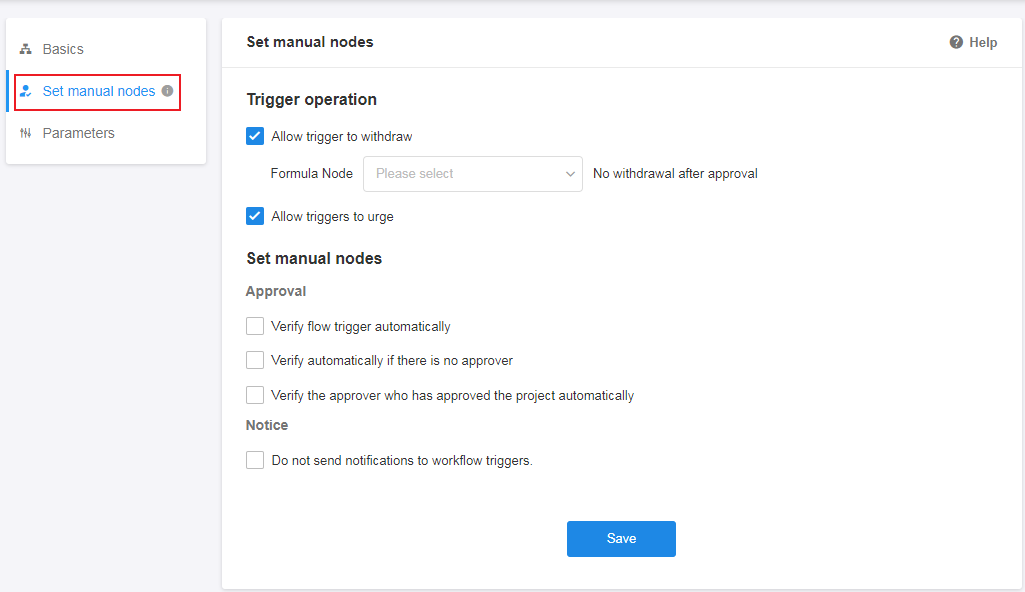
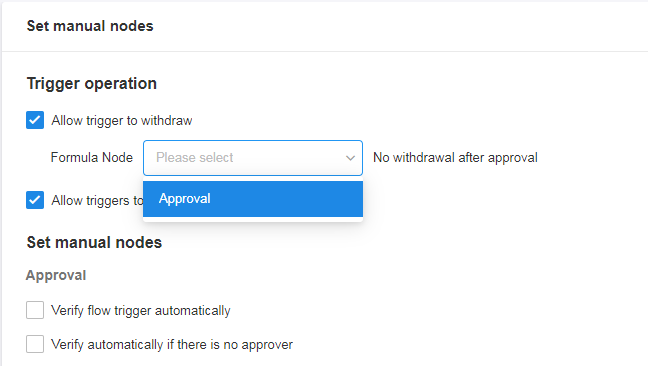
1. Allow trigger to withdraw
If a workflow is triggered, the person who triggered the workflow can withdraw it.
You can also set that the workflow cannot be withdrawn when a specified node is executed.
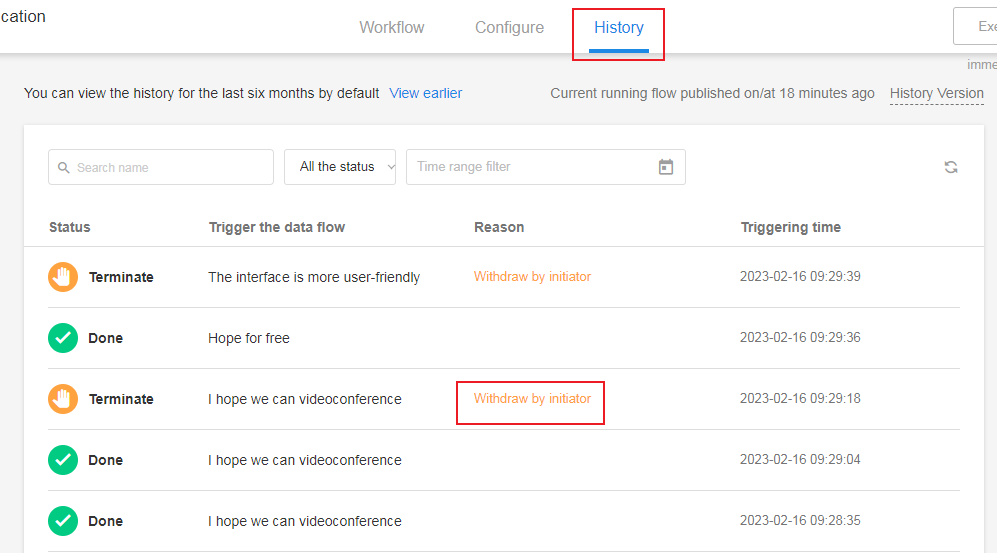
How to withdraw the workflow
Go to [To-do] > [My Initiated], click the target workflow to the details page, if it can be withdrawn, you will see the withdraw button.
Admins can check in [History] to see if the workflow has been withdrawn.
If the workflow is withdrawn, the nodes that have been executed are still valid. For example, workflow A has a trigger node, an update record node and an approval node. When the workflow is triggered, the update record node is automatically executed, changing the value of the field from a to b, and then the approval node is executed. At this point, if the workflow is withdrawn, the approval does not continue, and b is not changed back to a.
2. Configuration for the [Approval] node
This feature is for the [Approval] node. The configuration applies to all [Approval] nodes in the workflow.
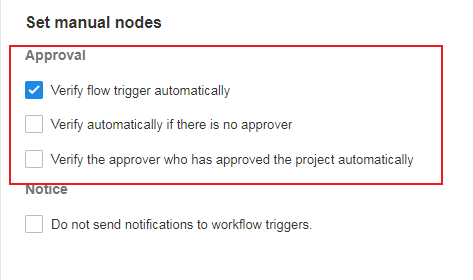
1) Verify flow trigger automatically
If the trigger person of the workflow and the approver of the current approval node are the same person, if it is checked, the approval is automatically passed. If it is unchecked, the trigger person needs to approve again.
2) Auto-pass when approver is empty
When the approval node does not set the approver or the approver is invalid, this approval is automatically passed when checked.
3) Verify automatically if there is no approver
There are multiple approval nodes in the workflow, such as Approval Node 1, Approval Node 2, Approval Node 3, and Approval Node 4. If in Approval Node 1 and Approval Node 4, the object of approval is the same record and the approver is the same person, if Approval Node 3 is passed, the approval will be automatically passed in Approval Node 4.
3. Notice
You can set whether to send notifications to the initiators of the workflow. The configuration here applies to all approval nodes in the workflow.
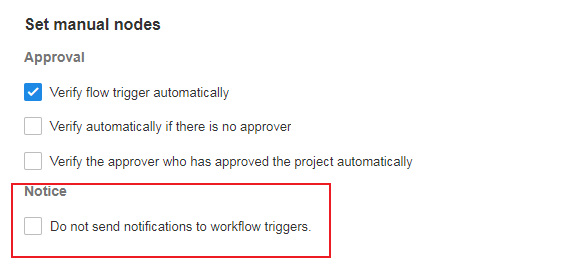
If a member triggers a workflow, there is a notification node in the workflow:
If there is only the operator himself in the notification node, the node is skipped.
If there are other members added to the notification node, the node is executed normally, but no notification is sent to the operator.
If there is an exception to the notification node, or you cannot receive notification messages, you can check the configuration here.
III. Parameters
You can define a parameter object in a workflow, like a temporary field in the workflow. It can hold a field value, or the result of a calculation, or receive values passed from other workflows that are then referenced by other nodes. When the workflow ends, the parameter value is cleared and reset.
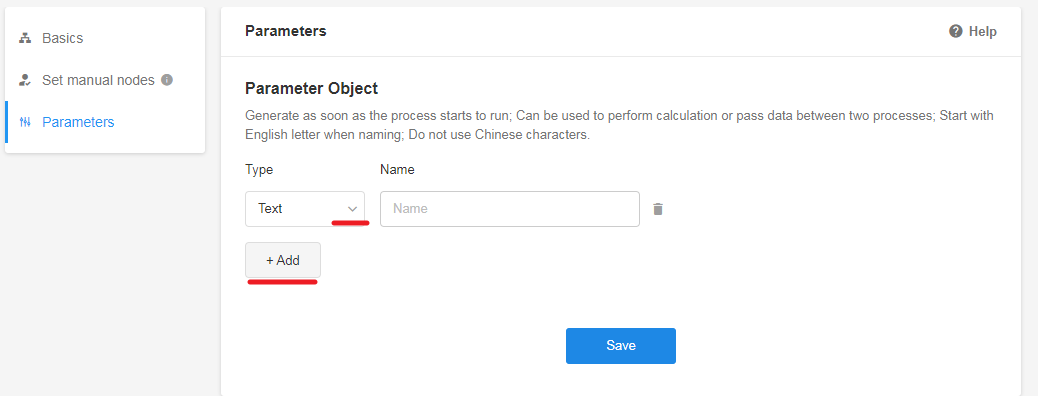
Parameter type
Text, Numeric, Date/Time, User, and Department
Parameter name
The name must start with a letter and can contain numbers and underscores.
How to assign a value to a parameter
You can assign values to parameters in this workflow with the [Update parameters] node.
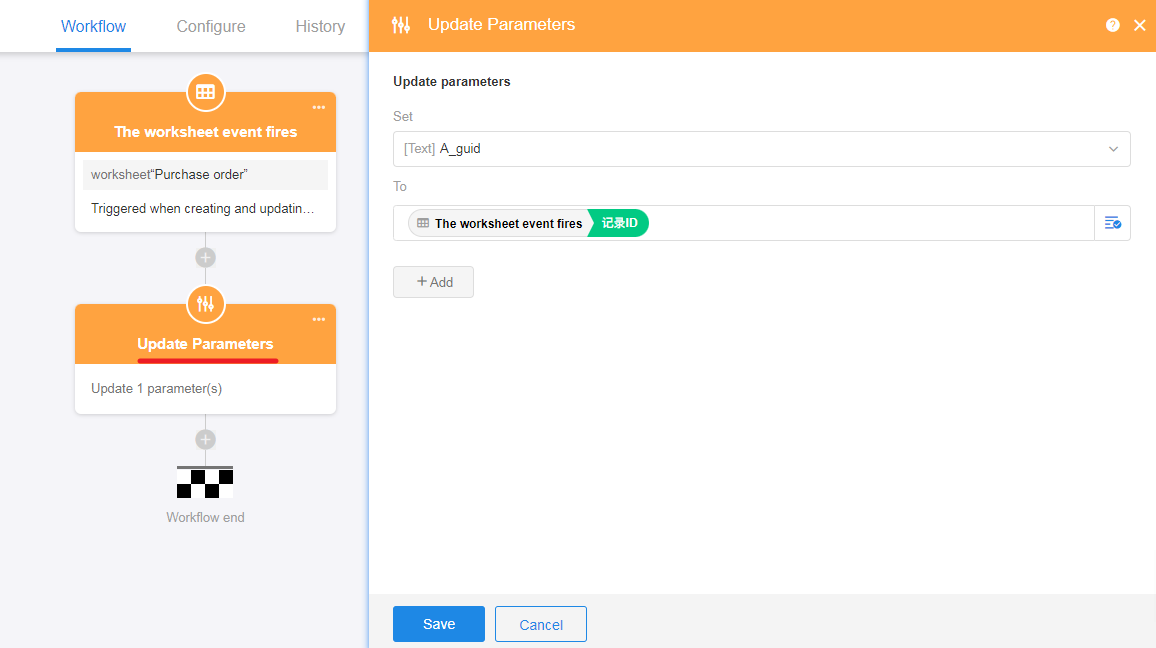
Assign values to parameters in the subflow in the [Subflow] node.
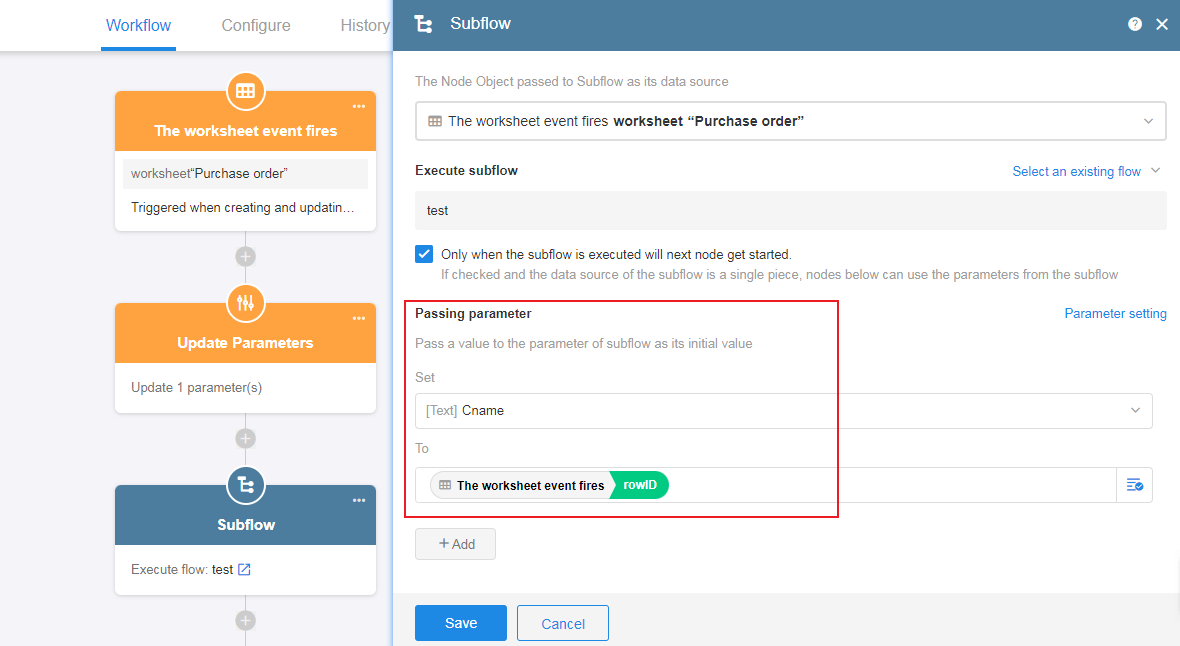
You need to enter the subflow and set the parameters for the subflow before you can assign values to the parameters. The parameters automatically have initial values when the subflow is executed.
Have questions about this article? Send us feedback